
This guide assumes that you already have created your blog and tested locally. If not please follow this tutorial : Create a Blog using devlopr jekyll. Then come back and proceed with the deployment process.
In this Guide, we are using Github Pages and Travis CI for deploying our blog. Sometimes Github Pages does not support external third party plugins. In that case we deploy our blog using Travis CI, it automatically builds our website and pushes the static files of the site to a deployment branch. Which then Github Pages uses to render the site. Hope you get it :P !
We might need to instruct Travis CI to follow deployment instructions. Copy the below content in .travis.yml file:
language: ruby
cache: bundler

# Travis will build the site from gh-pages branch
# and deploy the content to master branch
# use gh-pages branch to serve for github pages
# master branch will be used for deployment

branches:
  only:
  - gh-pages
script:
  - JEKYLL_ENV=production bundle exec jekyll build --destination site

# You need to generate a Personal Access Token
# https://github.com/settings/tokens
# Add this token in environment variable GITHUB_TOKEN in Travis CI repo settings

deploy:
  provider: pages
  local-dir: ./site
  target-branch: master
  email: deploy@travis-ci.org
  name: Deployment Bot
  skip-cleanup: true
  github-token: $GITHUB_TOKEN
  keep-history: true
  on:
    branch: gh-pages

# Generate your secure token with the travis gem:
# get Github token from your Travis CI profile page
  gem install travis
  travis encrypt 'GIT_NAME="YOUR_USERNAME" GIT_EMAIL="YOUR_EMAIL" GH_TOKEN=YOUR_TOKEN' --add env.global --com

# env:
#   global:
#     secure: Example
All we are doing is telling Travis to pick up files from our gh-pages branch and push the build files to master branch.
Generate a New Github Personal Access Token
We need this token as a Environment Variable in Travis. For Travis can automatically login as you, and finish its job of building your site and pushing it to your repo’s master branch.
Go to Github Generate a New Token Page.

Create a new Access Token

Configure Travis
Go to Travis and Toggle the repository access to use Travis
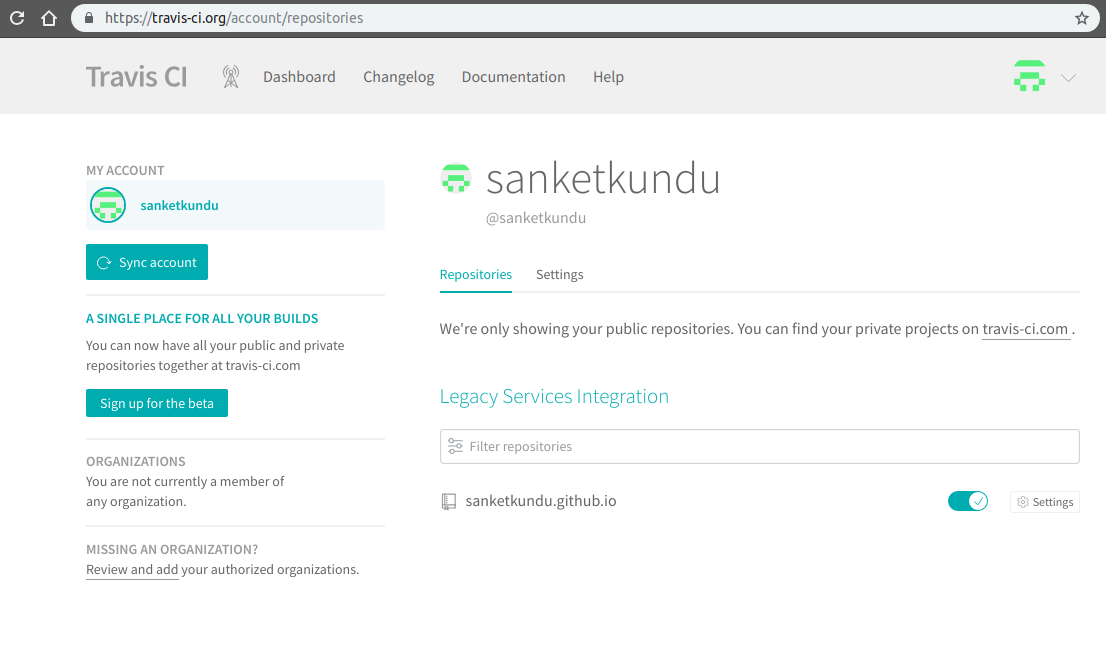
Go to the repository settings page and Add Environment Variable ‘GITHUB_TOKEN’ 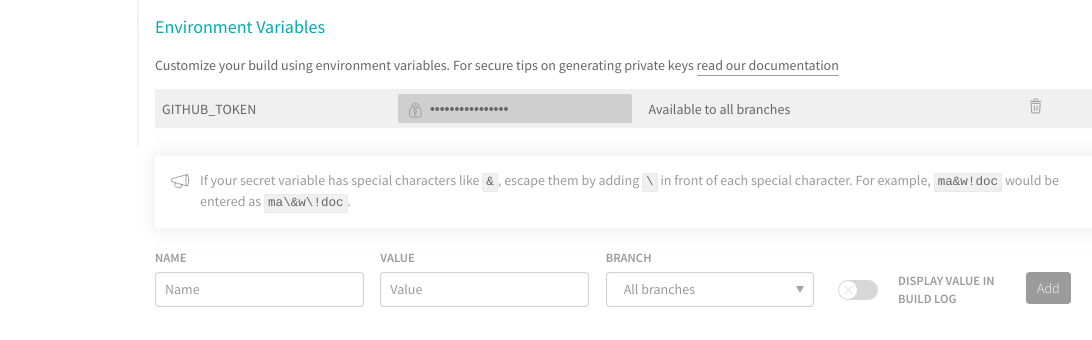
Push your changes to Github
Commit your local changes in gh-pages branch
git add . git commit -m "added new post" git push origin gh-pages
After push, Travis will automatically run a build process and deploy your blog.

You can visit your site at https://yourusername.github.io
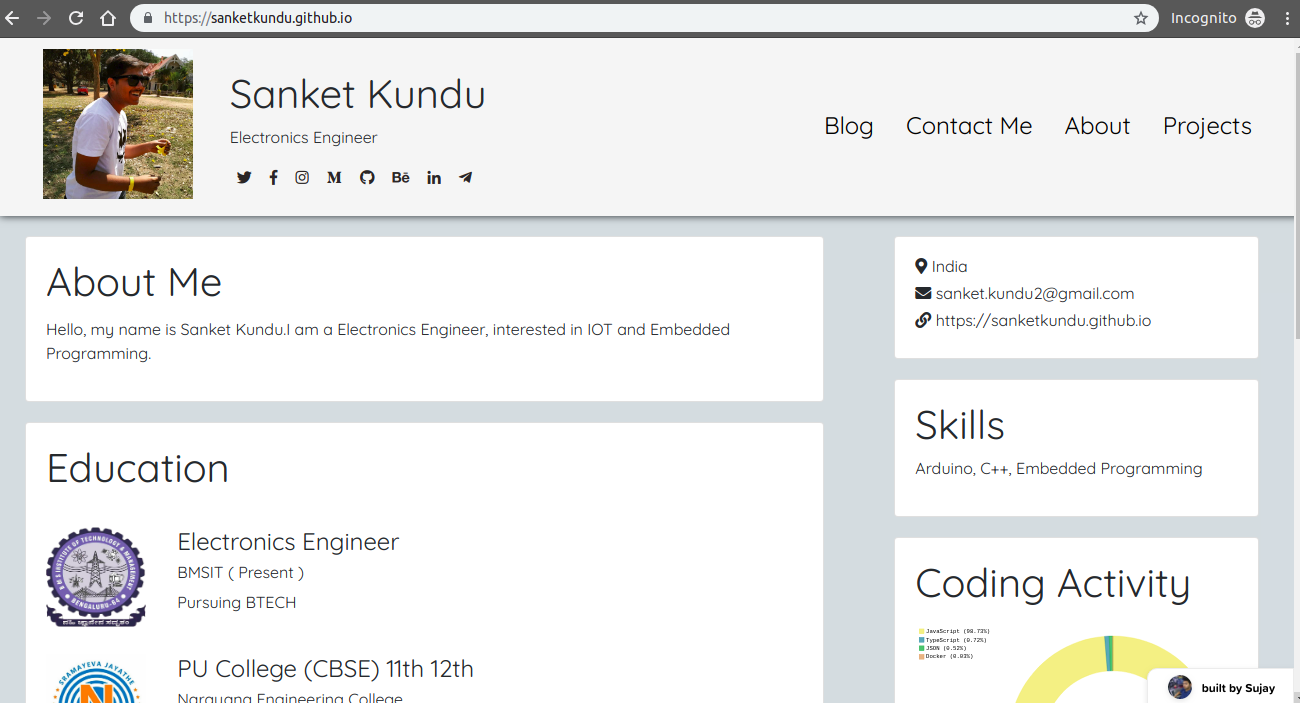
Done ! Enjoy your brand new devlopr-jekyll blog. You can visit the site at https://yourusername.github.io