
If you are a developer, who want a fast static website with no cost for hosting/domain stuff. This guide will help you setup a blog for you for free using devlopr-jekyll theme
Before Proceeding Lets Setup Our Development Environment :
Step 1 - Setting up Development Environment
We need ruby and Bundler to build our site locally. You can check out this Guide to install the same for your OS.
Install Ruby
ruby -v
ruby 2.5.1p57 (2018-03-29 revision 63029) [x86_64-linux-gnu]
Install Bundler
gem install bundler
After installation check if its working:
bundler -v
Bundler version 2.0.1
Step 2 - Create a new repo for your blog in Github using devlopr starter
Go to devlopr starter. Click on the “Green” - Use this Template Button.
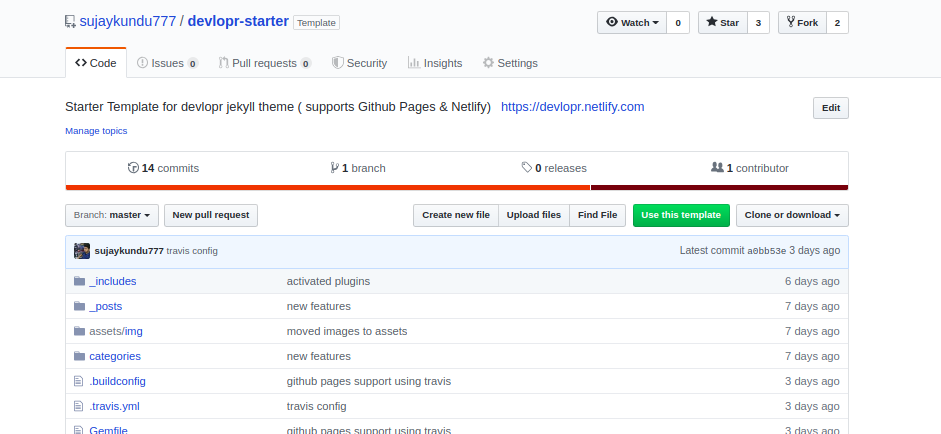
Create a new repo with name as “yourusername.github.io” replacing yourusername with your github username.

Note : You can use any other name like “my-blog” but then , if you are using github pages for deployment. your site will be built at the subdomain - yourusername.github.io/my-blog.
Step 3 - Clone your repo locally
You will get the clone url from here:
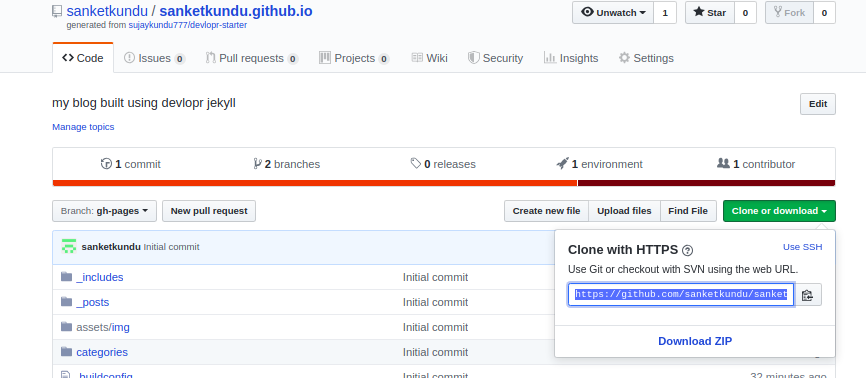
git clone https://github.com/yourusername/yourusername.github.io.git
Step 3 - Make all your changes Locally
Make all your changes locally
$ cd yourusernme.github.io $ code .
Open the files using VSCode and edit _config.yml and edit with your details:
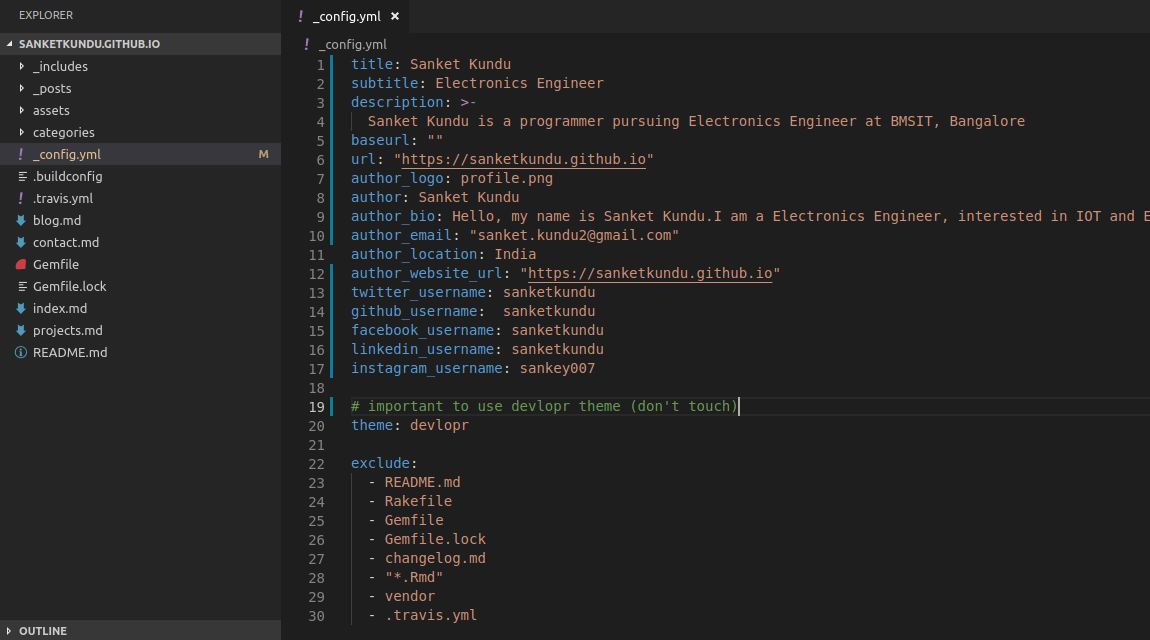
- _config.yml file - replace with your own details
- _posts - Add your blog posts here
- _includes - You can replace the contents of the files with your data. (contains widgets)
- _assets/img - Add all your images here
Step 4 - Install the dependencies
$ bundle update $ bundle install
Step 5 - Serve the site locally (development mode)
bundle exec jekyll serve
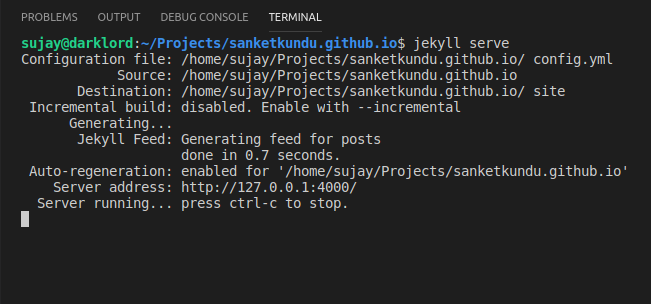
You can visit the site at http://localhost:4000
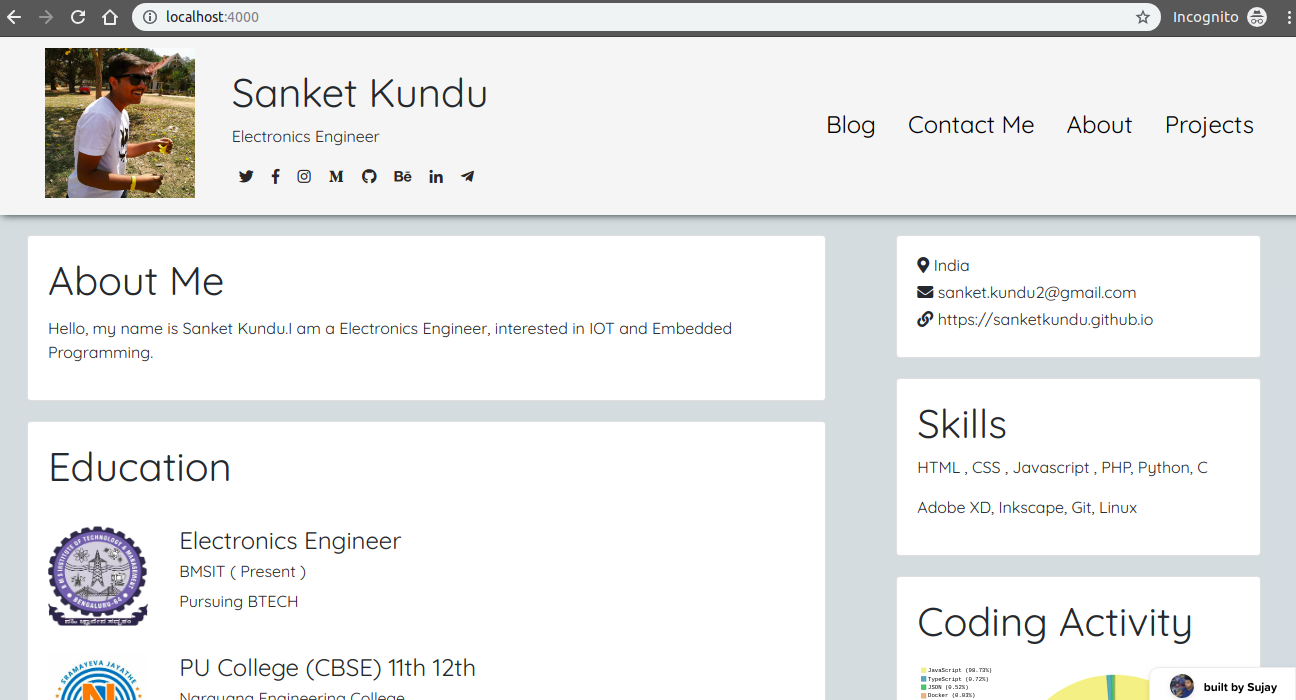
After you think its fine, proceed with the next step !
Step 6 - Publish Your Changes
After you are happy with your blog. It’s time to show it to the world. There are several ways which are possible for deploying the blog for free. Below is the list of build guides :
Move to your Blog Directory and commit your Changes Locally
$ cd yourusername.github.io $ git add . $ git commit -m "made changes to my blog"
Push your changes to Github
$ git push origin master
Step 7 - Congrats - Your Site is Live
You can visit your blog at http://yourusername.github.io